How to assign different icons to your Pictogram series
NOTE: Please note that this help doc showcases the assignment of icons that are already available in the Flourish Pictogram template. If you would like to import your own custom icons, you can read our step-by-step guide here.
1
Under the Icons settings in the Preview tab, select Use icon bindings. You can then customize these in the Data tab.

2
In the Data tab, make sure that the column containing your series' names is bound under Column ID.

3
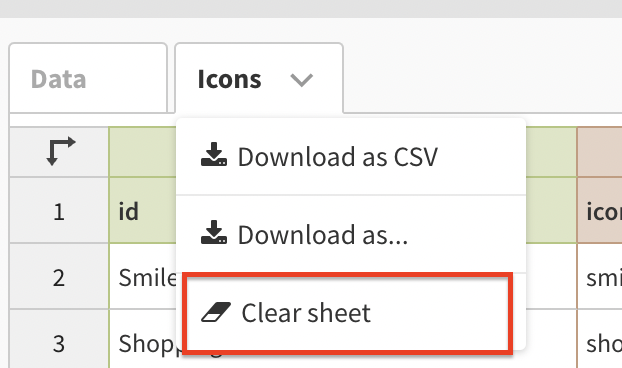
Go to the Icons sheet in the Data tab. If there is placeholder data, you can delete it.
4
Under Icon ID in the Icons tab, copy and paste all your series' names on separate rows (from the column bound under Column ID). Make sure that the names of your series match exactly in both data tabs.

5
Under the Icon column in the Icons tab, you can type the name of any built-in icon. These will only work if they are written in lowercase, and they match exactly the name of the icon.

6
Your series should now be represented by different icons.


